![Contact details [go to contact page]](shared/images/contact.png)
My Work
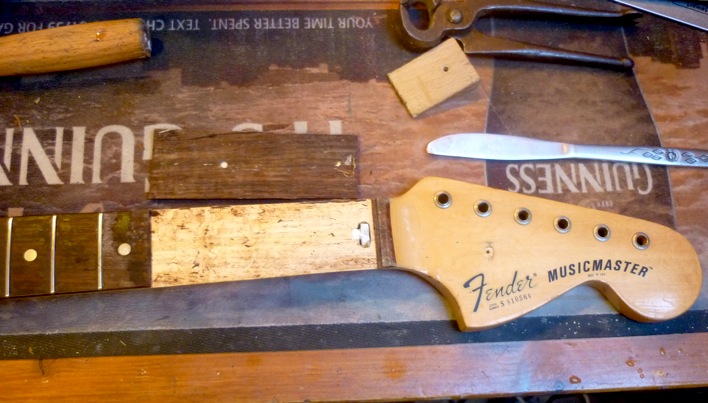
Truss rod surgery - '78 Musicmaster
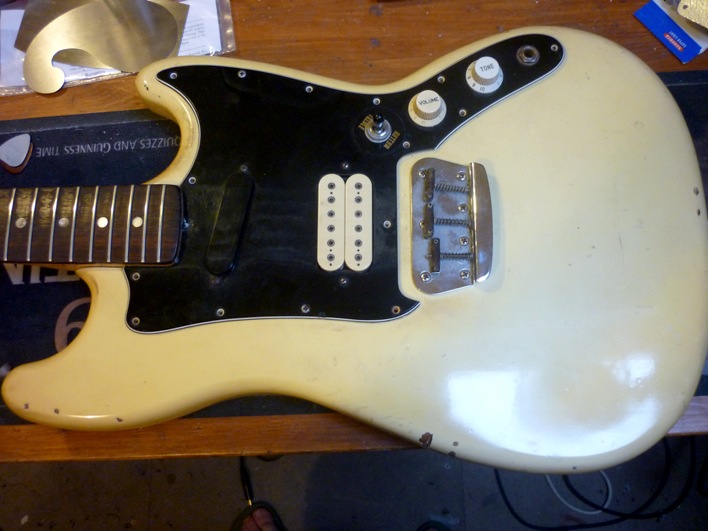
Adrian was lucky enough to pick this beautiful Musicmaster up at a car boot sale for a very good price. After keeping it for about a year untouched he decided that it wasn't playing good enough which meant he wasn't motivated to play it. I booked it in for a setup with a fret dress too.
It really was dirty - mountains of fingerboard goo and big fretwear. By the way, someone in the past had butchered the body work by installing the humbucker pickup thus employing what looks like a fork to 'rout' the space needed for it.
Don't forget to click the pictures for an enlarged view ;)
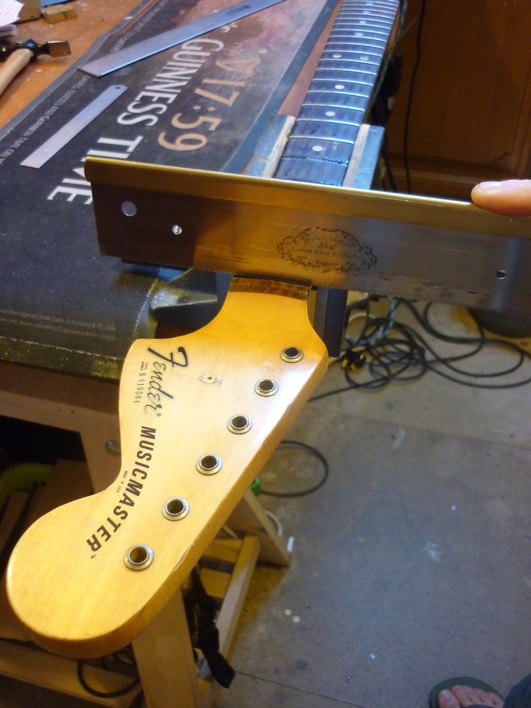
 Time for the setup, first things first let’s set the neck set to the right relief... oh wait.... The truss rod wasn’t catching at all. You could tighten it endlessly. If you look closely you can also see that the thread is tightened right up to the cross head of the truss rod.
This meant that the truss rod anchor wasn’t working correctly... there was no way that I could get the truss rod to tighten. The neck was hideously bowed too and that was without the strings installed - this neck would never play right unless something done about the truss rod.
Now fortunately it was the classic Fender truss rod design, a simple long threaded bolt inside a curved truss rod channel. At one end its anchored, in this case anchored at the nut end of the neck. You normally only ever see the adjustment end of the truss rod. I could tell from how the truss rod was freely rotating that the thread at the anchor point was the problem. I took the old rod out to see that my prediction was correct.
 Here's the replacement rod from All Parts versus the new one. (I'm now an official All Parts Dealer!) Check out how the thread has worn away. Obviously it didn’t help one bit that the CBS fender rod was made from aluminum, a metal not favoured for its durability.
Now for the crunch. You would think that simply slotting a direct replacement into the existing hole would be easy hey? Unfortunately the plastic sleeving that was around the original rod would not allow me to install the replacement - its had scrunched up and had now blocked the truss rod channel.
Having no other way around it, I had to remove part of the fingerboard to clean the compressed plastic from the nut end of the neck so i could install a functioning truss rod.
First step: remove the first 4 frets and nut

Quite a delicate procedure - got to be careful in order to minimise how much the sharp fret tangs cause the rosewood to chip.
Repairing the small chips that did come away. The fingerboard hadn’t been oiled in a long time which meant that the wood was very brittle.
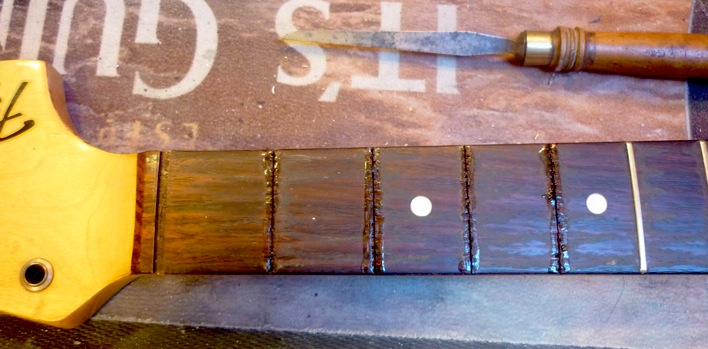
Next - Chomp through the nut slot and the 4th fret slot.
Very carefully I sawed through the rosewood at these points to get to the maple neck. It wasn’t very hard because when CBS took over they skimped on rosewood (Because it's more expensive) meaning it's got a VERY thin rosewood 'board, only just enough to seat the frets. I used my ultra fine gentleman’s saw for this to make the thinnest possible cut. I also scored the very edges of the rosewood to maple join to cut through the lacquer.
Now to steam part of the fingerboard off.

A damp rag and the household iron took care of this.
Gently prying the thin fingerboard off being careful not to split it with excessive force.
Result:
Now how horrible does that look? No turning back now!
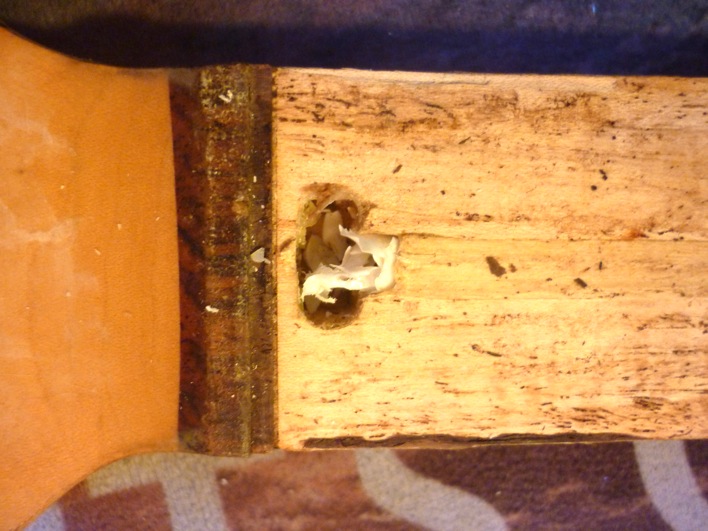
See that white crap? That's the tubing I was talking about. Whilst trying to install the new rod I’d compressed that plastic shite up. Anyway - it was all completely removed.
Here's the Anchor nut
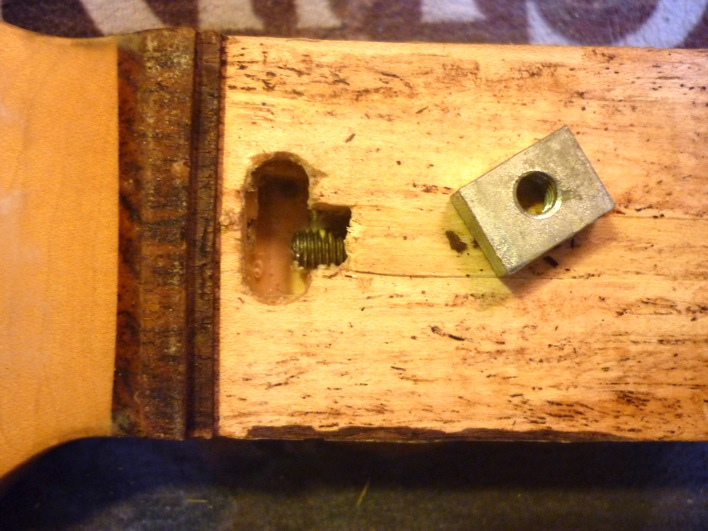
And here’s the new rod installed, threadlocked and tightened

I forgot to take a photo of the how I drove the new rod in. Basically at the adjustment end I put a dummy nut onto the thread half way along and then put the real adjustment cross head nut onto it. This allowed me to screw into the anchor nut without putting pressure onto the newly installed rod. I let the Thread lock and other glue cure thoroughly before removing the dummy nut.
With the New rod secure I now had to un-do all my work with the fingerboard. I used one of my home-made oak radius blocks for clamping the board back on. Here's it being pressed on and secured with Titebond wood glue:

A day later and its time to remove the clamps.
Time to remove excess glue (which has dried really tough. the edges of the glue can cut your skin!) with a cabinet scraper blade and some love from a dampened rag.

A quick re-profile of the fingerboard. Here’s the oak vintage 7.25" radius block I made in action again (Honestly they took the piss to make so I want to show them off as best as possible...).
After:

Now, to put the frets back in using my super duper fret press. (Home made once again - solid oak and precision radiused cauls faced with aluminium to make sure the frets are pressed evenly....)
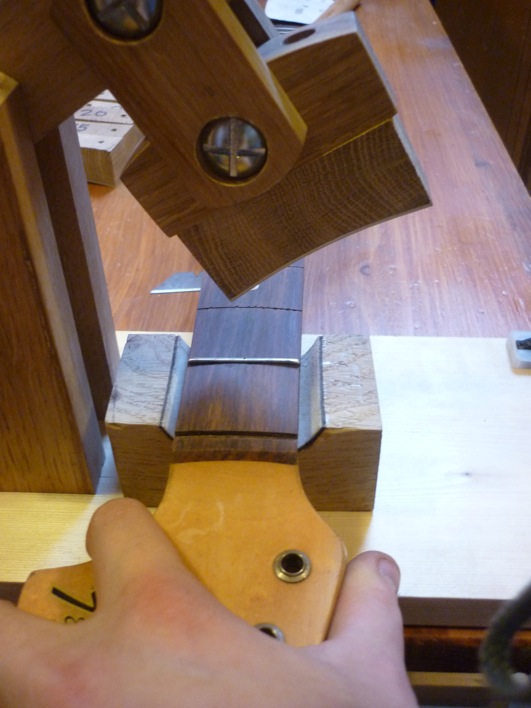
It’s starting to look promising now

See how as I’d removed the excess glue there’s some original lacquer missing? Should probably sort that out hey?
After a quick touch up with some nicotine stained nitrocellulose lacquer it looks good as old!
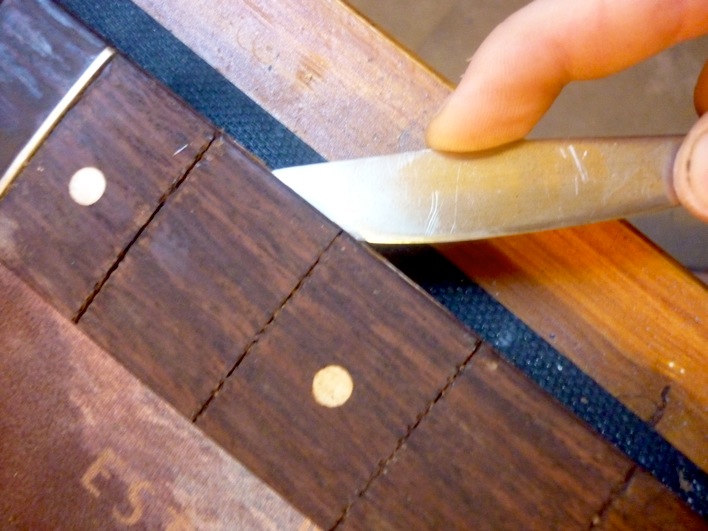
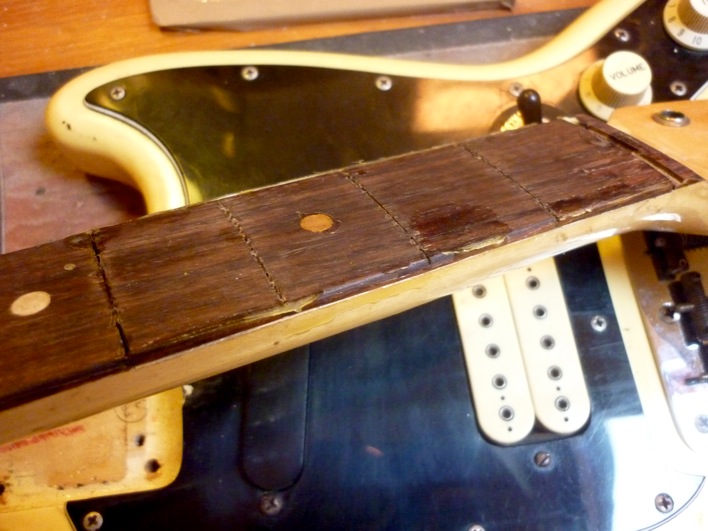
Just to show you, here’s the 2 points which I sawed thought the rosewood to remove it a few days ago. Can you see a mark?


Ok its looking good. Time to get on with the job it was originally booked in for!
Here’s a picture of midway through the fingerboard clean but after the fret dress. Guess where I've cleaned up to?

Assembly:

Voilà!


A lovely guitar after it all and well worth it too. It's playing as good as my own guitars now and it's just a joy to pick up. Full of classic Fender twang too!
"Jack really goes the extra mile as a guitar repairer. His attention to detail, care and love for his job is something that you will rarely come across in this industry. I could not be happier with the quality of work he has done and continues to do. You won’t find a nicer chap to send your guitars to."
Thanks,
Adrian :) - www.adriangautreyband.co.uk
