![Contact details [go to contact page]](shared/images/contact.png)
Advanced Guitar Setups - Manchester


With one of my "Advanced Setups" you get a fret level and fret dress included before the normal setup process. This sets the levels of the frets flat whilst removing fretwear and imperfections in the frets.
Here I'll show you some of the work involved in a fret dress. As you will see, it's alot of blistering hard work. Literally.
I made this photostory for two reasons, to show how much work and care goes into each of my fret dresses but also for people to learn how to do fretwork themselves. Sharing is good, if no-one had shared knowledge with me I would'nt be where I am now.
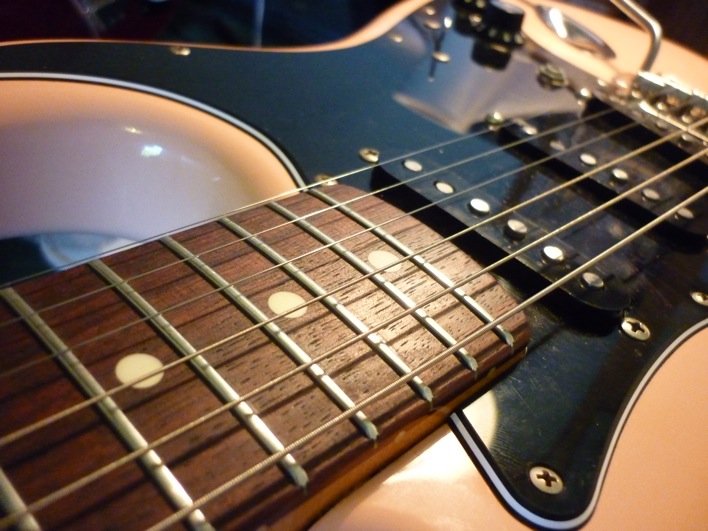
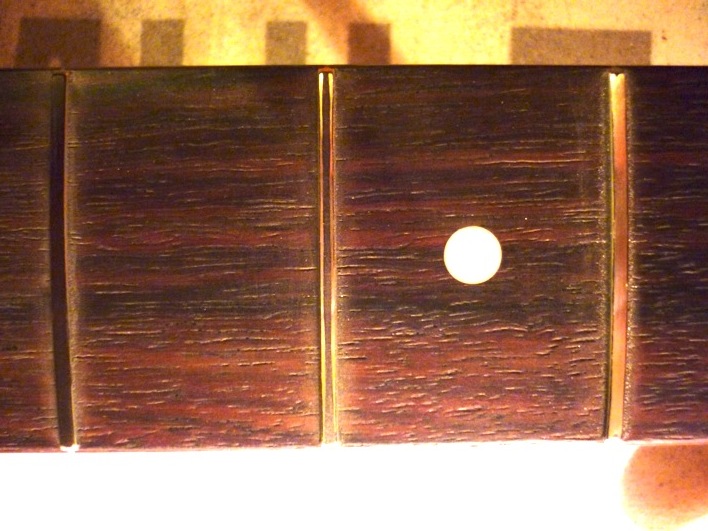
Here's the state of the frets before I worked on them, there were two problems firstly the visible fretwear underneath where the strings touch and secondly that the fret levels were hideously wonky making a low playing, non-buzzing action impossible...

A "stone and reprofile" or Fret dress will cure this as well as the uneven fret top levels.
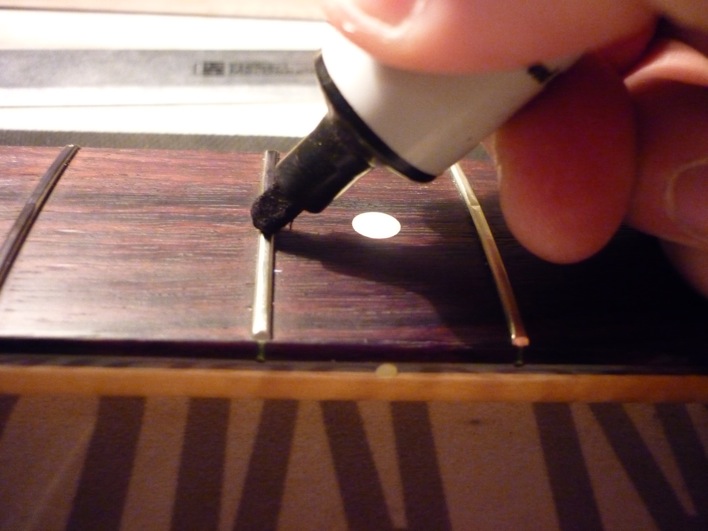
Marking the frets out. Doing this helps to see clearly in the next stage no matter what the lighting condition is like.

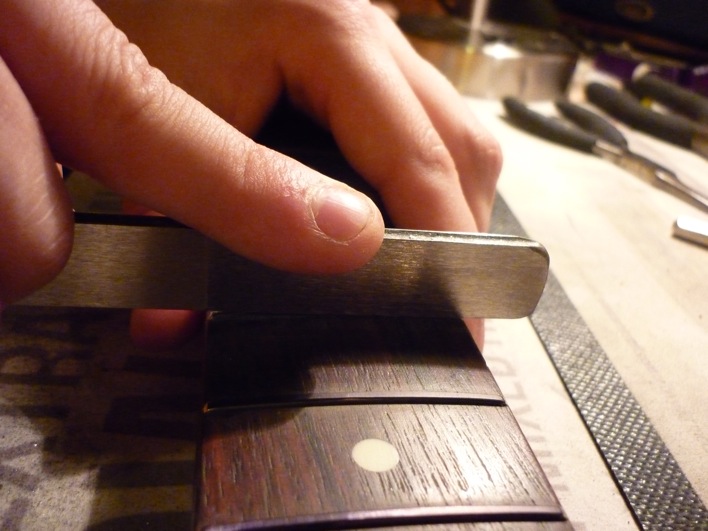
The highest frets get ground the most. My custom specialist fret levelling beam make sure that the job is done super accurately.

See that big nasty rise at the end of the board? That meant that anything from 9th to 15th fret was choking and buzzing!
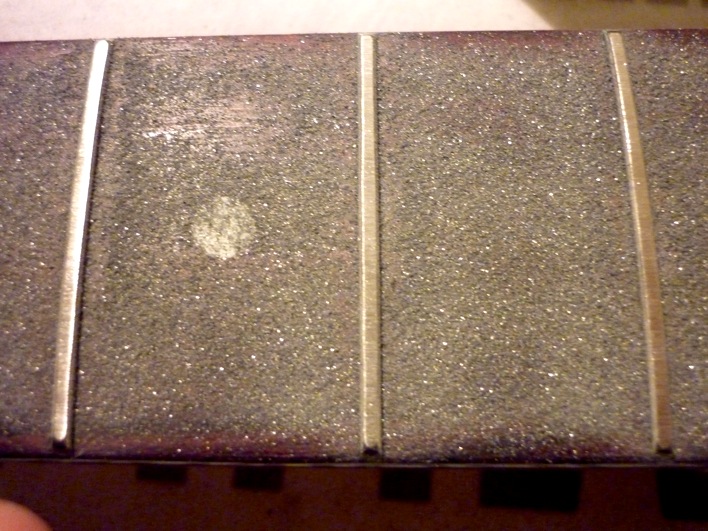
Because of the nature of how uneven the frets were I had to remove ALOT of material from the frets. The customer didn't want to have it refretted. Note - alot of this dust here is actual grit from my sanding beam's grit paper I had just put on! It's not as bad as it looks!!
I'm going to have to do alot of re-crowning to get these last few frets looking normal again...

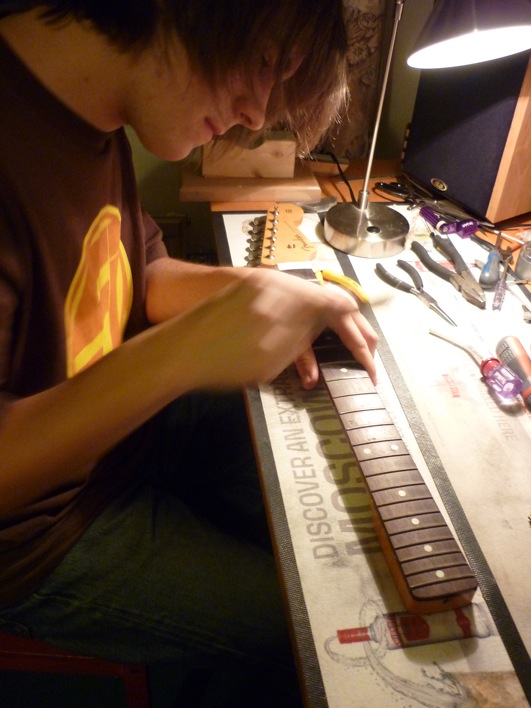
Re-marking the fret tops for the crowning stage
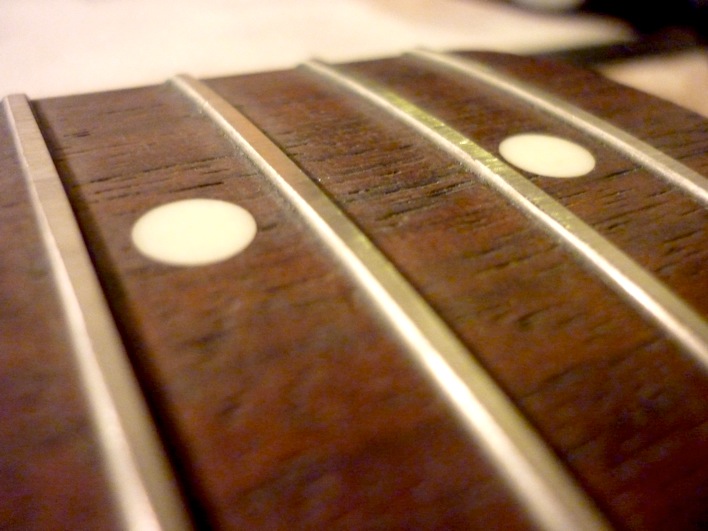
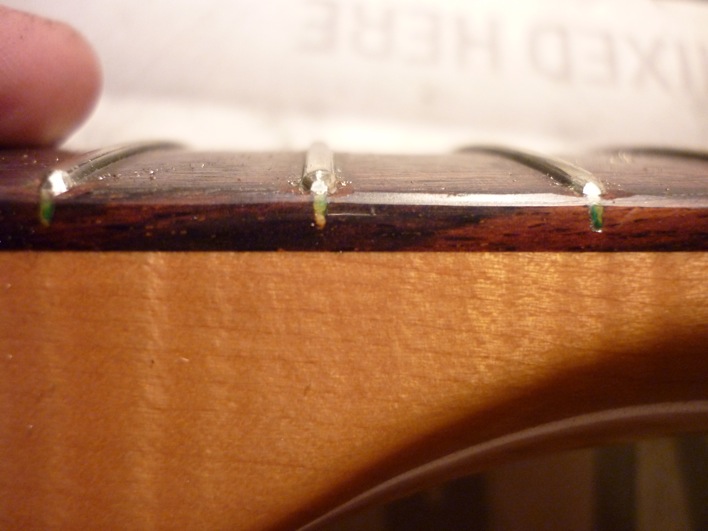
Here's 3 frets in different stages Levelled, partially crowned and fully re-crowned. in case you haven't guess crowning is the process of restoring the curved profile to the tops of the frets.
One of my diamond edged fret files in action - expensive but worth it. They chomp through any fretwire in no time - even stainless steel fretwire - the toughest!
Bit of elbow grease as I work through each fret carefully.

OK, so here's the frets after I've finished that last step. I've made sure they all look the same with no coarse flat tops.

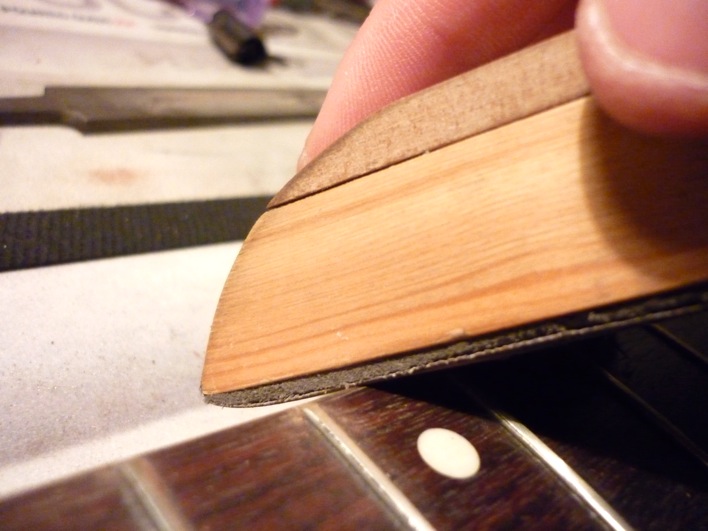
Before i get any further with the fret tops, let's deal with the sides. Here i'm running a fine file down the edge of the fingerboard at a specific angle. This takes off any overhanging fret ends or fret tang ends that may be irritating to the player.

next step of the fret end dressing is putting the smooth edges back onto the corners of the frets. Each luthier has their own method of doing this and this is mine. it's very hard and time consuming to get each one the same as the last.
The file I'm using was given to me by Colin Keefe who trained me in Leicester a while back, it's got a safe edge on which I polished. This means I can get into the very corner of the fret end and not harm the rosewood underneath. The motion used is very tricky to master but you get into the swing of it as you get through each job.
See how each fret end is the same? You get into a bit of a rhythm as you move from each fret to the next!
My super secret fret end polishing device... It just helps to smooth off the file marks left by the last file

Right, so the fret ends are done and now we're buffing the frets. This is how I get my fretwork so awesomely shiny. It feels so good to go for a massive bend on my polished frets...
It's my Dremel machine with a metal polishing wheel on the end, I also use buffing compound and a fretboard protector.

Time to clean the fingerboard now the frets are done. I give it a light scrape with a Stanley blade digging off any finger goo and left over buffing compound.
Dont forget to oil the finger board too, I used almond oil on this one as it was quite dry.

Done!
Look at them shine!
