![Contact details [go to contact page]](shared/images/contact.png)
Bass Guitar Fret Removal

Bass guitar defret service
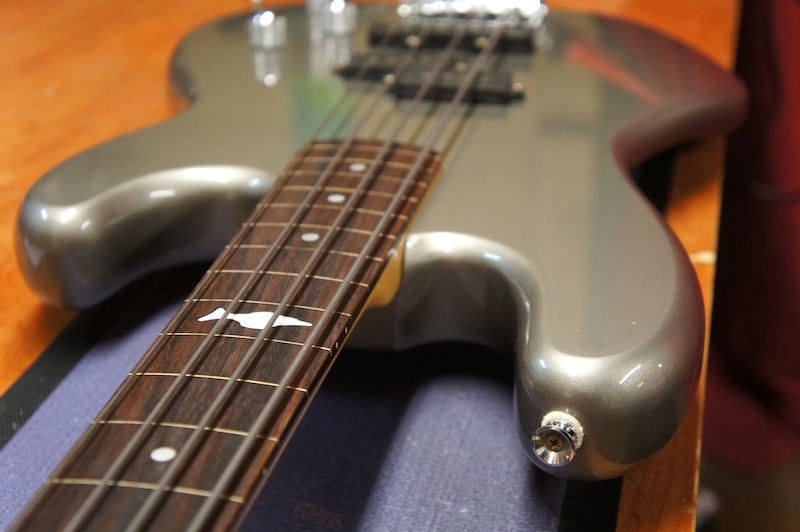
Yep, a cool modification is available for your bass (or guitar!). Simply do-away with those frets. I take on all kinds of neck whether lacquered or non-lacquered for defrets. There's a choice of filling options too, below we have rosewood with bright white maple fret inlays so the owner can see clearly on stage.
Get in touch today!
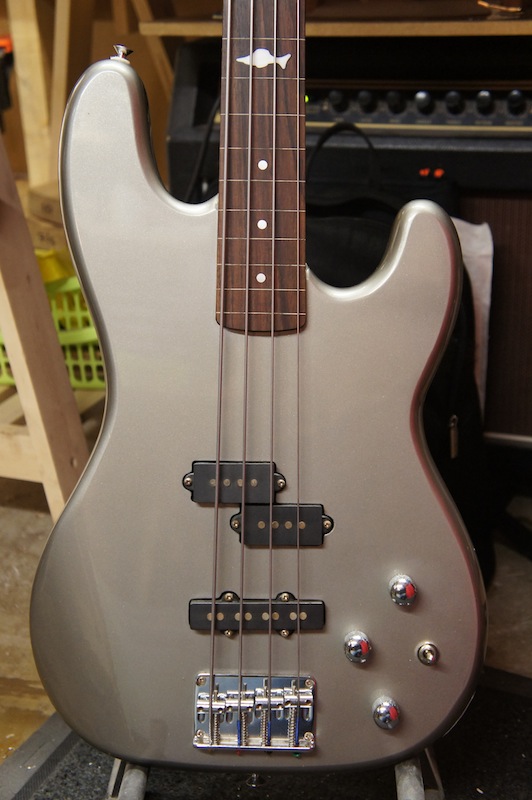
Here we have a Marlin Sidewinder bass guitar in for de-fret. The owner fancied a fretless bass in his collection and had this one lying around not getting used.
Let's see if I can make it play really nice as a fretless and breathe some new life into the instrument
>Skip to finished photos
Straight in a the deep end
The frets are pulled out one by one with these end cutters. I have specially ground them so that the ends are completely flush - great for picking out frets.
After testing, the frets were found to come out very easily without the aid of a soldering iron. Sometimes for more stubborn glued in frets a soldering iron's heat is used to free up the frets. These came out with very little chipping to the rosewood.

Half way there....
Look at the state of that dirty fingerboard...

Here's the fret slots. The small barbs on the sides of the frets designed to keep them in place always take a small amount of rosewood with them when you pull them out. This fretboard came out very cleanly. Now to remove that finger dirt build up...
Now the excess of gunk has been cleaned away from the fretboard, I have to clean out the fret slots themselves. This is done with a fret saw
The width and depth of the fret slots is checked and the hardwood shims are put in.

It looks pretty daft at this stage but the thin strips of hardwood will look great when they're done.

More glue...
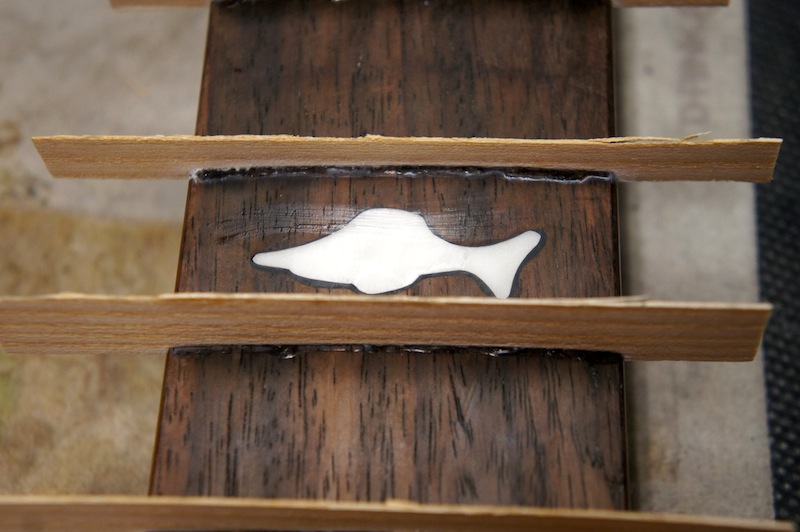
Now all the fret slots have been filled

Trimming the excess maple off the edges simply with some scissors!
I'm not cutting too close just in case the maple splinters

Now the fret ends are seen to, any gaps down here will look terrible. Care has already been taken to saw out the fret slots to a uniform depth and the maple inserts are pushed down all the way
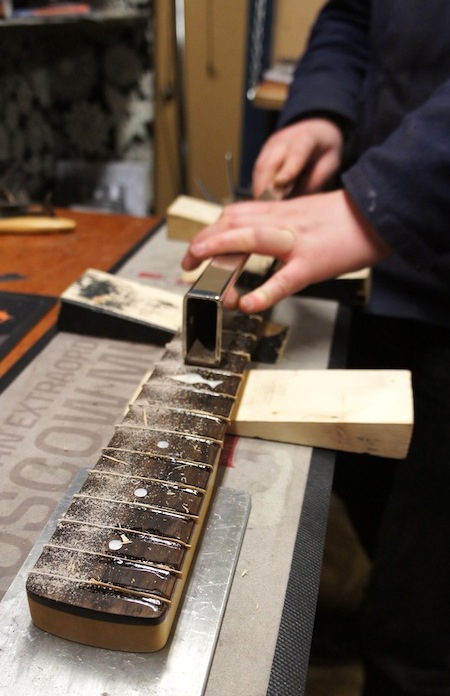
A sanding beam with coarse 80 grit wet/dry paper is used to knock off the remaining glue and excess maple veneer.
In order for the bass to play great with out the strings knocking onto a fret board hump, the fretboard is given a precision flattening.
Basically this is the same process as what happenes in a fret dress - only normally I knock down the fret tops instead!
The bass won't play right unless this stage is done properly

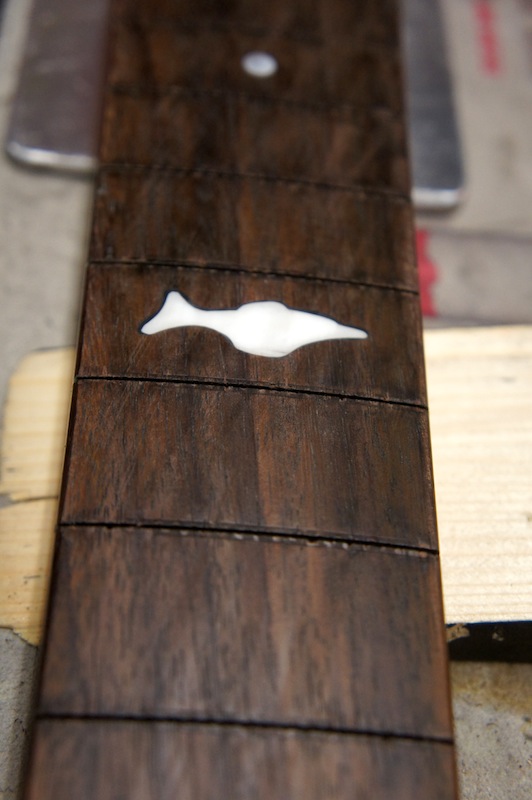
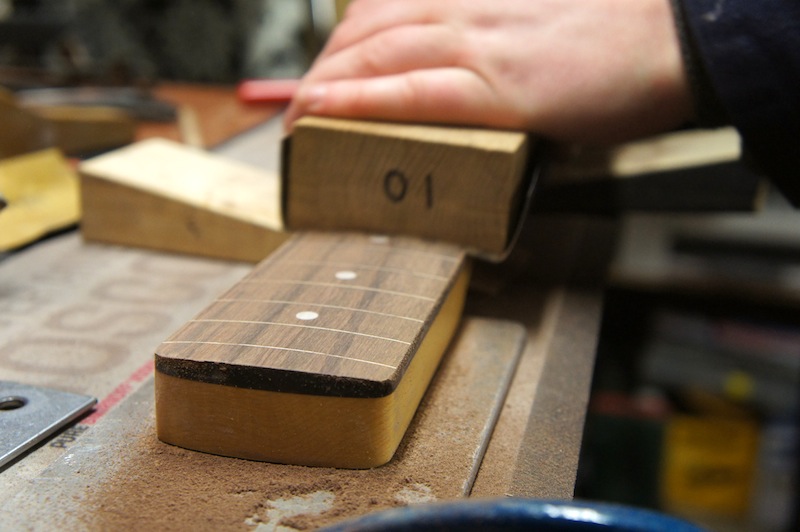
Here we get the first glimpse of what it's going to look like! It's a relief as the last few stages temporarily made it look not-so-good....!

Now to dress the ends up and remove the excess glue and maple veneer

The fingerboard's radius is corrected now with a custom made radius block. The fingerboard is scribbled on with pencil first so that it shows when you have sanded every part of the surface
Swap now to a finer grade of wet/dry paper to get the final surface for the rosewood. Here there's 800 grit papr being used in the radius block
The exciting bit!

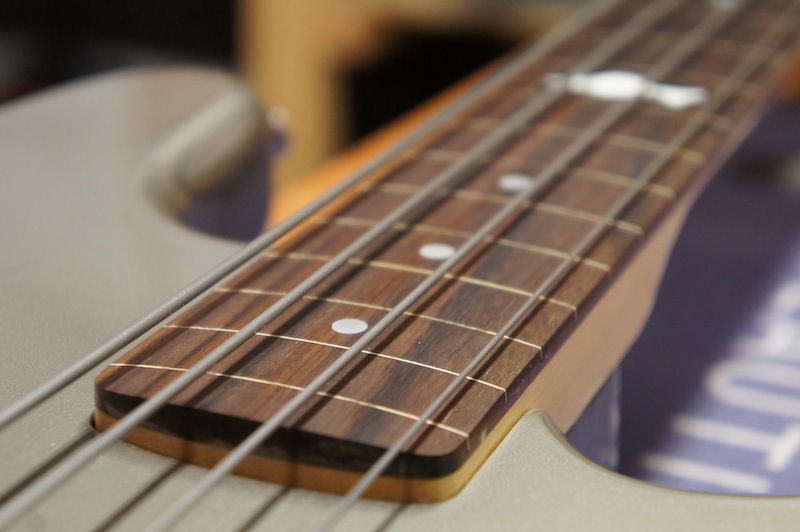
Here's the big reveal where you get to see the fruits of your labour...
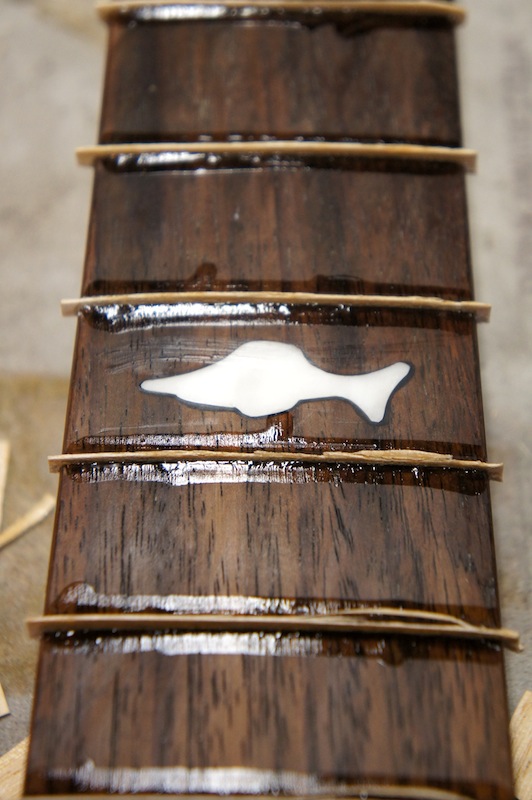
A heavy coat of almond oil is slathered on and soaked into the wood. It nourishes the timber with natural oils and deepens the colour really nicely
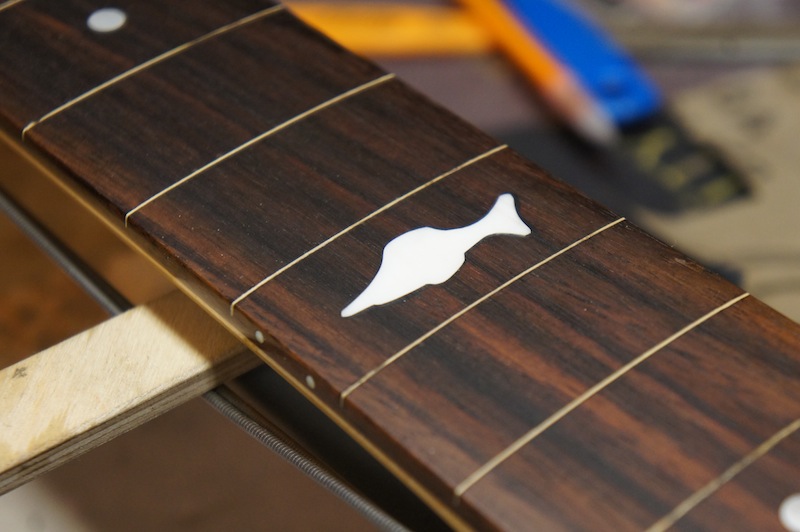
You get a really nice definition between the rosewood and the maple inserts which of course is perfectly flat - you can't feel it! This will stay like it too and won't wear off
Assembly and set up
Of course now the bass will need a new nut. The old plastic one wasn't all that good anyway! If I installed that old one on it would have been holding the strings at the height of the frets so it would have been very hard to play. This new one's made from bone
> Read more about making bone nuts here
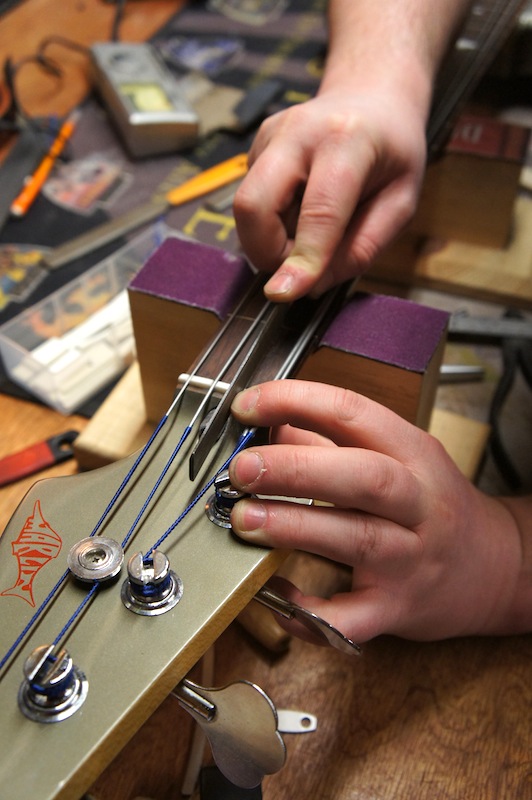
Fine tuning the nut slot depths for a nice playing action
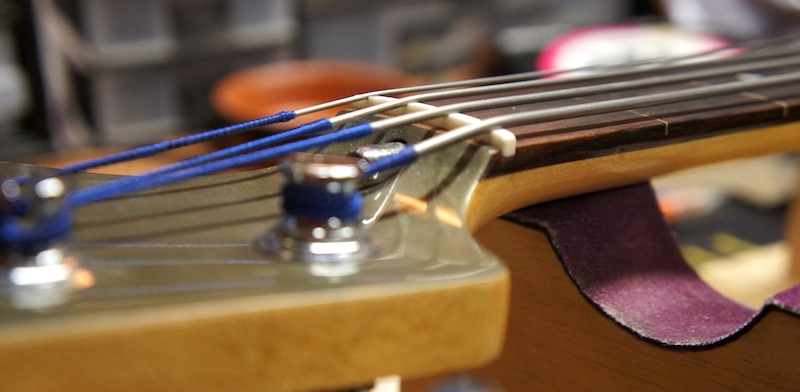
String her up
After stringing up the bass I've got the set up to do still. The truss rod's been set and the nut slots have been fine tuned but the action is this bad:

Horrible!
The neck is being held onto the body at the wrong angle so I've got to correct this with a neck shim. This small angled piece of veneer allows maximum contact between the neck and body without an air gap all whilst adjusting the angle.
> Read more about tapered neck shims here!

Bass De-Fret Finshed!

Back to My Work <
